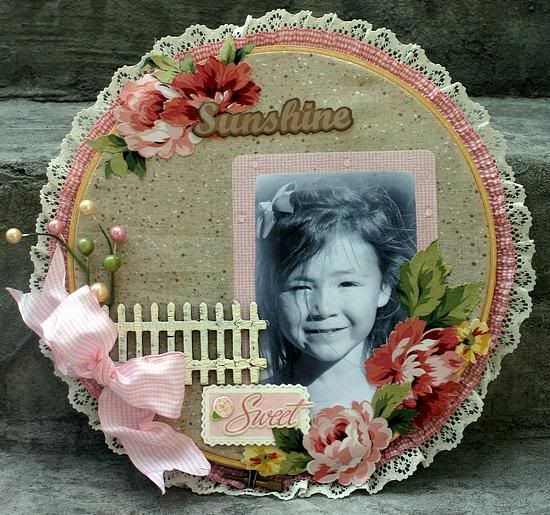
I was contacted a few weeks ago by Scrapbook News and Reviews and asked if I would like to do a Featured Artist spot for them! After I got over the initial shock and excitment I got right to work on my project! I hope you enjoy!!!
Supplies: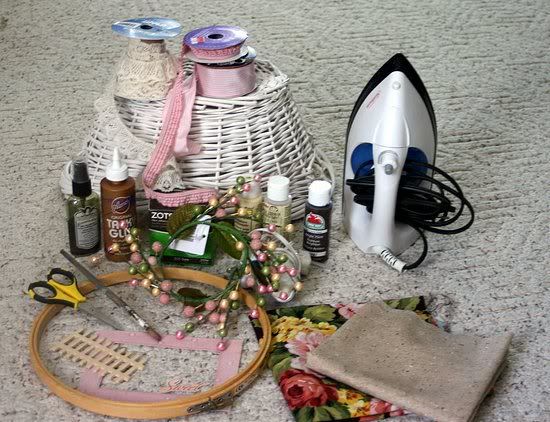
- Embroidery hoop – Your base fabric size depends on the size of the embroidery hoop you’ll be using (non-printed works best)
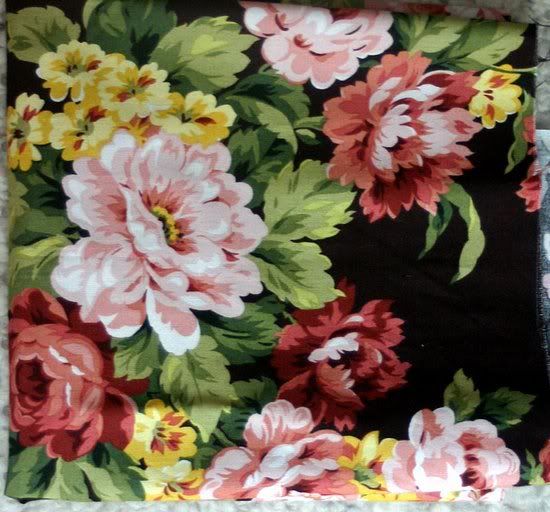
- Printed fabric - make sure the print is something you can actually cut
- Lace - the amount depends on the hoop size and how many layers you want to use
- Iron
- Scissors
- White PVA glue
- Hot glue gun and glue sticks
- Cardstock or frame to back your photo
- Titles, embellishments – keep in mind that they shouldn’t be very heavy
- Ribbon
- Photo
If you like my fence, you can purchase a raw 3-pack at most craft stores for under $1.50. To get the crackled look, you’ll need a dark color of acrylic paint, crackle medium gel, and a lighter color such as cream or white. Paint your fence first with the dark colored paint and let it dry thoroughly. Then coat with crackle gel, which will also need to dry completely. Once the last coat is dry, it’s time to finish it off with a coat of the lighter colored paint. Presto, you now have a cute little vintage looking fence.
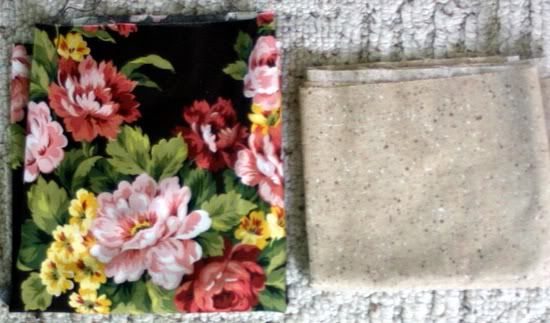
Picking Your Fabric
There are so many fabric theme options out there and no matter whether you want to do a floral girly layouts or a dinosaur theme, the options are endless. Once you’ve determined your theme, start by picking your patterned paper first. It’s easier to coordinate the basic fabric your pattern rather than vice versa. In my opinion, a simple softly patterned fabric base works best, but hey, if you want to use a patterned base, then go for it. Being creative is the whole object, right?
Step One: Your fabric is more than likely going to have creases where it was folded and will need a quick run over with an iron. I know, I know, it’s a horrible chore but I swear it only takes a second or I wouldn’t do it. You’re talking about a lady here who buys clothes pending on how they’ll look after they come out of the dryer and if they require ironing, forget it!
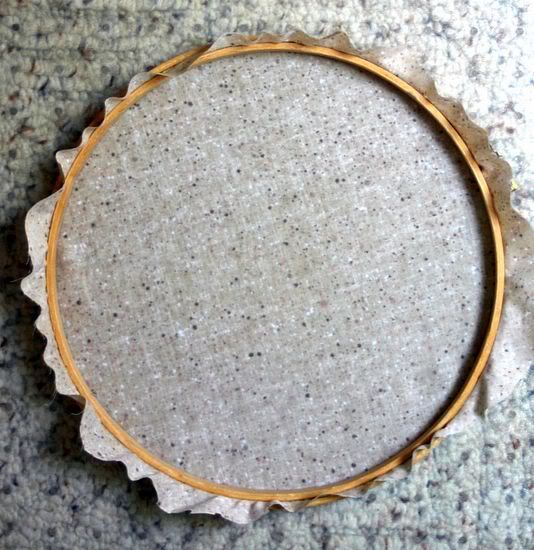
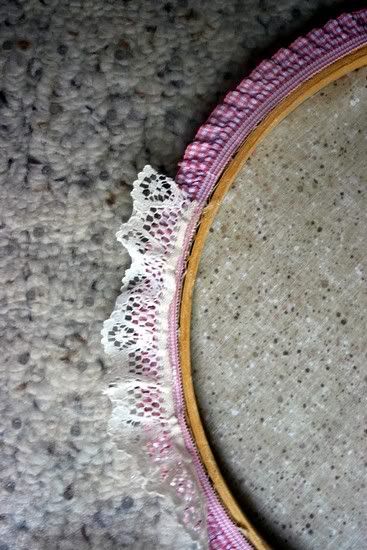
Step Two: Now that the boring stuff is out of the way, it’s time to get creative. First, you’ll need to affix your base fabric in your embroidery hoop tightly. You can get the slack out by gently tugging the overhanging fabric at the bottom. If necessary, tighten the screw on the hoop. Tip: To get the most out of your fabric, place your embroidery hoop as close to the edge as you can.
Step Three: Trim the excess fabric from around the bottom of your hoop.
Step Four: Glue your lace to the back side of your embroidery hoop (a hot glue gun works wonderfully). Tip: If you plan on having more than one layer of lace, start with your smallest piece and glue it to the outer edge while leaving room for your next layer(s) and so on. For a more masculine layout, the lace can be skipped or you can distress it first. There are a lot of options out there.
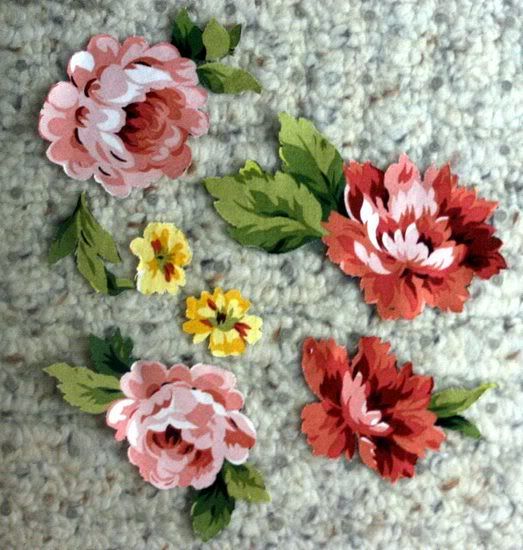
Step Five: Cut out the images you want to use on your layout from your patterned paper. This technique is actually where the term fussy cutting originated. To fussy cut, is to target and cut a specific motif that’s printed on fabric, rather than randomly cutting yardage. I bet you didn’t know I was going to give you a dictionary lesson as well! Tip: Use sharp scissors to prevent fraying.
Step Six: Time to get your page all laid out. Keep in mind while you’re arranging your page that you cannot put a lot of pressure on the fabric as you’ll make it loose from the hoop with no way to tighten it again without the excess hangover to pull taut. To adhere your fabric, just treat it as you would any embellishment, but be sure to get glue close to the edges to prevent lifting and fraying. To get the glue on my fabric, I gently dabbed small dots all the way around the fabric, careful not to cause fraying. White PVA glue works great on fabric and paper pieces and I used hot glue for the fence and bow.
There you go – a gorgeous and unique scrapbook page that is sure to wow your friends and family! Bonus: This page makes an amazing gift or wall décor for your home.
wow...this looks amazing...love it!
ReplyDeleteCongrats on doing the Featured Artist spot! This is so deserving, just fabulous. I love what you did with the fence. I just might lift this idea! Thanks for the inspiration! ~ Blessings
ReplyDeletehttp://gracescraps.blogspot.com/